

How to Make Homemade Butter From Heavy Cream
Butter is literally heavy whipping cream that you refused to stop whipping.
That was the basic idea behind the homemade butter we made in our kitchen. We poured heavy cream into the mixer, took it through the whipped-cream stage, and kept going until it separated into yellow butterfat and a thin, milky liquid.
The process is surprisingly simple. The hardest part is trusting that the moment your beautiful whipped cream appears to fall apart is exactly what you want.
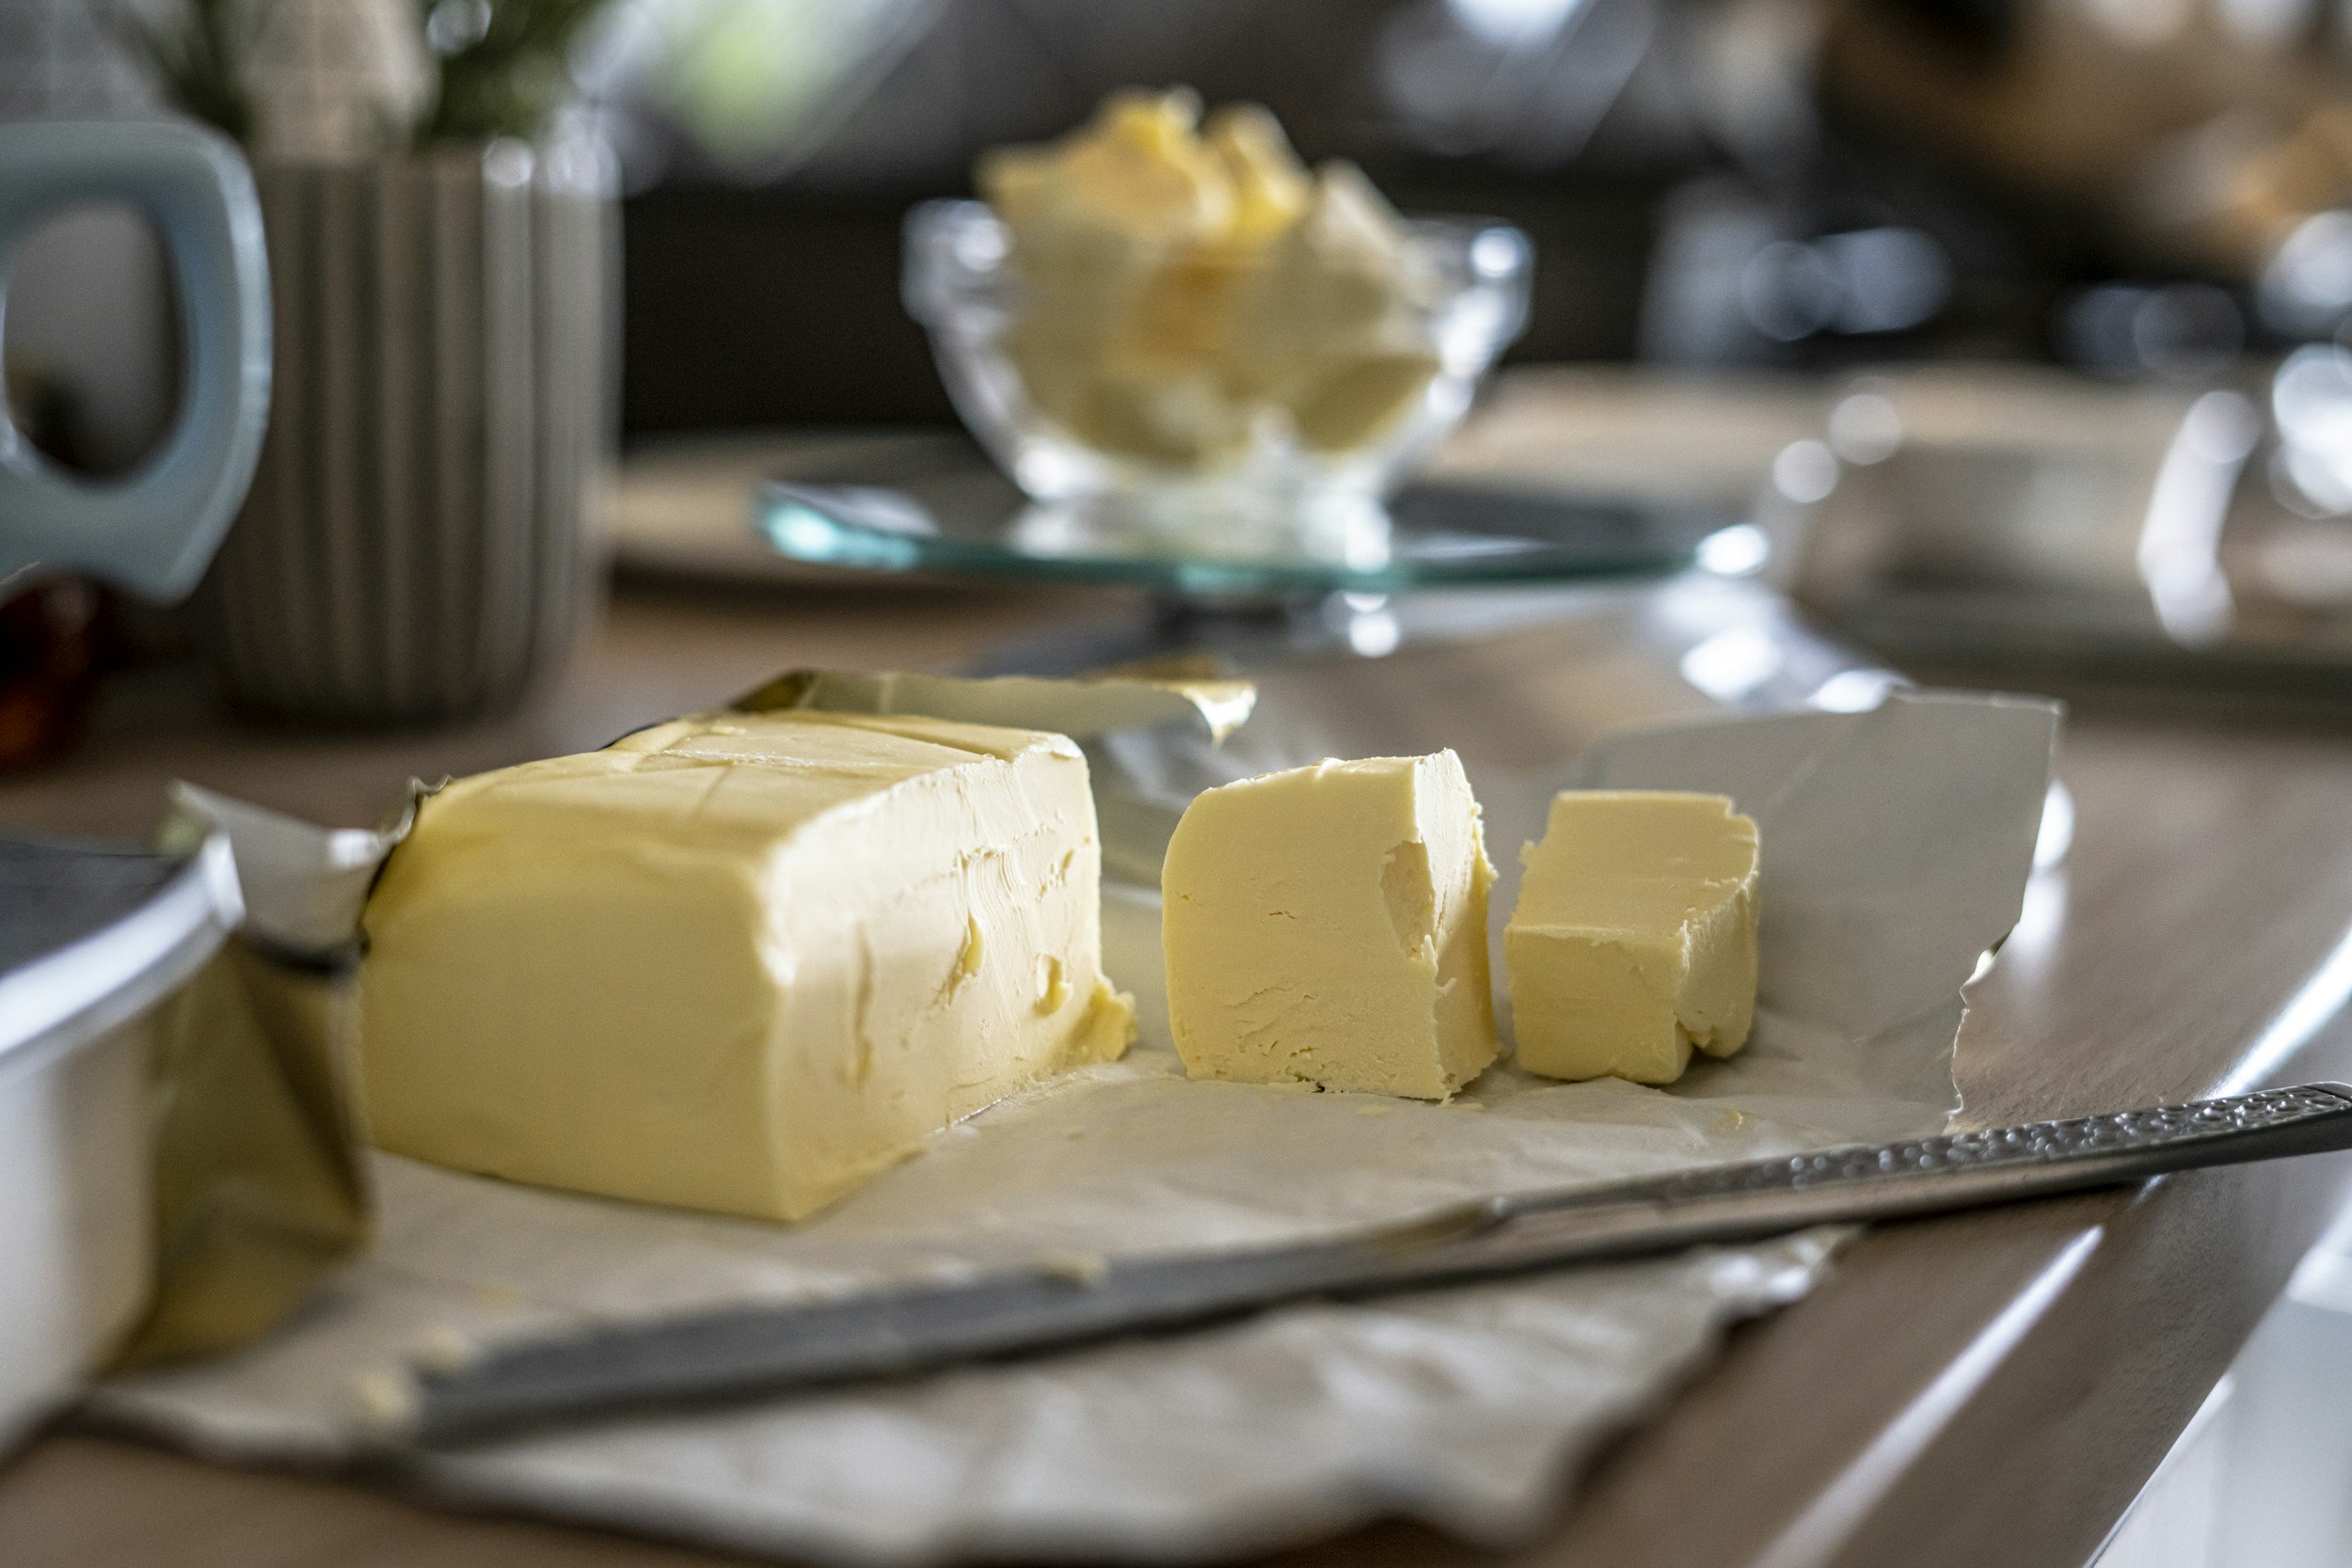
Homemade Butter Only Needs One Ingredient
For plain, unsalted butter, the only ingredient you need is heavy whipping cream.
You can use almost any reasonable quantity, but one pint of cream is a convenient place to start. It gives the mixer enough to work with without filling the kitchen with splashing cream once it begins to separate.
If you want salted butter, you will also need a little salt. Add it at the end so you can control the flavor.
Ingredients
Heavy whipping cream
Fine salt, optional
Very cold water for washing the butter
Equipment
Stand mixer or electric hand mixer
Mixing bowl
Splash guard or clean kitchen towel
Fine-mesh strainer or cheesecloth
Bowl for collecting the liquid
Spatula or wooden spoon
Clean container for the finished butter
You can also make butter by shaking cream in a tightly sealed jar, but a mixer makes the process considerably easier.
How to Make Butter in a Stand Mixer
1. Start Whipping the Cream
Pour the heavy cream into the mixer bowl. Do not overfill it because the cream needs room to expand before it separates.
Begin mixing at a moderate speed. The cream will first become frothy, then thicken into ordinary whipped cream.
If dessert is the goal, this is where you would normally stop.
We are not stopping.
2. Keep Mixing Past Whipped Cream
Continue whipping the cream. It will become very thick and may begin looking grainy or curdled.
This is not a mistake.
Eventually, the fat will collect into pale yellow clumps and separate from the remaining liquid. The change can happen quickly. Reduce the mixer speed when the liquid begins splashing, or loosely cover the bowl with a clean towel.
Once you have obvious butter solids and liquid in the bowl, stop the mixer.
3. Strain the Butter
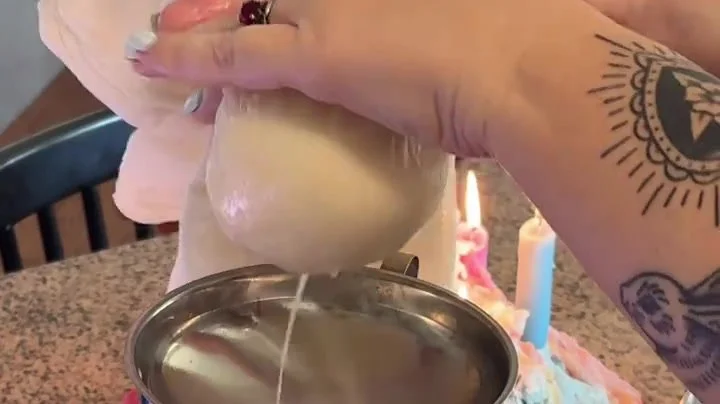
Pour the contents of the mixing bowl through a fine-mesh strainer or a piece of cheesecloth.
Gently press or squeeze the butter to remove as much liquid as possible. Save the liquid if you plan to use it.
The leftover liquid is commonly called buttermilk, although it is not the same as the cultured buttermilk sold in grocery stores. It can still be used in pancakes, biscuits, bread, smoothies, and other recipes. Just remember that it may not provide the same acidity as cultured buttermilk in recipes that depend on that reaction.
Keep it refrigerated and use it promptly.
Why Homemade Butter Needs to Be Washed
Straining removes most of the liquid, but some will remain trapped inside the butter. Washing and working the butter removes more of it, which improves its texture and helps it stay fresh longer.
Place the butter in a bowl of very cold water. Press and fold it with a spatula, wooden spoon, or clean hands. The water will become cloudy as the remaining liquid leaves the butter.
Pour out the cloudy water and replace it with fresh cold water. Continue pressing, folding, and changing the water until it remains mostly clear.
Cold water matters. Warm water will soften the butter and make it harder to handle.
Add Salt or Leave It Plain
After washing the butter, press out as much water as you can.
For unsalted butter, you are finished.
For salted butter, work in a small amount of fine salt, taste it, and adjust from there. It is easier to add more salt than to remove it.
You can also use this stage to make compound butter by adding ingredients such as:
Fresh herbs
Roasted garlic
Honey
Cinnamon
Lemon zest
Cracked black pepper
Keep the additions reasonably dry so you are not putting excess moisture back into the butter you just washed.
How Much Butter Does Heavy Cream Make?
The exact amount depends on the fat content of the cream, but one pint of heavy whipping cream will generally produce roughly three-quarters to one cup of butter, along with some leftover liquid.
Homemade butter is not necessarily cheaper than buying butter at the store. That is not really the point.
It is useful when you have extra heavy cream that needs to be used, and it is one of those basic kitchen processes that makes food feel a little less mysterious. It is also a good project for kids because they can watch one familiar ingredient physically change into something completely different.
How to Store Homemade Butter
Place the finished butter in a clean, airtight container and refrigerate it promptly.
Because homemade butter may retain more moisture than commercially produced butter, we prefer to make a manageable amount and use it within a week or two. Extra butter can be wrapped tightly and frozen.
If the butter smells sour, develops mold, or tastes unpleasant, discard it.
Common Homemade Butter Questions
Why is my cream not turning into butter?
It probably needs more time. The cream has to move through the whipped-cream stage before the fat begins separating. Keep mixing and watch for the sudden appearance of butter solids and liquid.
Also make sure you are using heavy cream or heavy whipping cream with enough milk fat. Lower-fat dairy products will not produce the same result.
Can I use a hand mixer?
Yes. A hand mixer works, although you will need to hold it throughout the process. Use a deep bowl to help contain splashing.
Can I make butter in a jar?
Yes. Pour cream into a jar, leaving plenty of empty space, secure the lid, and shake until the cream separates. This takes more effort, but it makes a good hands-on family project.
Do I really need to wash the butter?
Yes. If you plan to store the butter, washing is an important step. Removing the remaining liquid improves the texture and reduces the material that can cause it to spoil quickly.
One Ingredient, Actual Butter
Making butter will not replace every package we buy from the grocery store. It does not need to.
It is still worth knowing how it works.
The next time a container of heavy whipping cream is sitting in the refrigerator without a plan, do not let it expire. Put it in the mixer and refuse to stop whipping.
That is butter.